
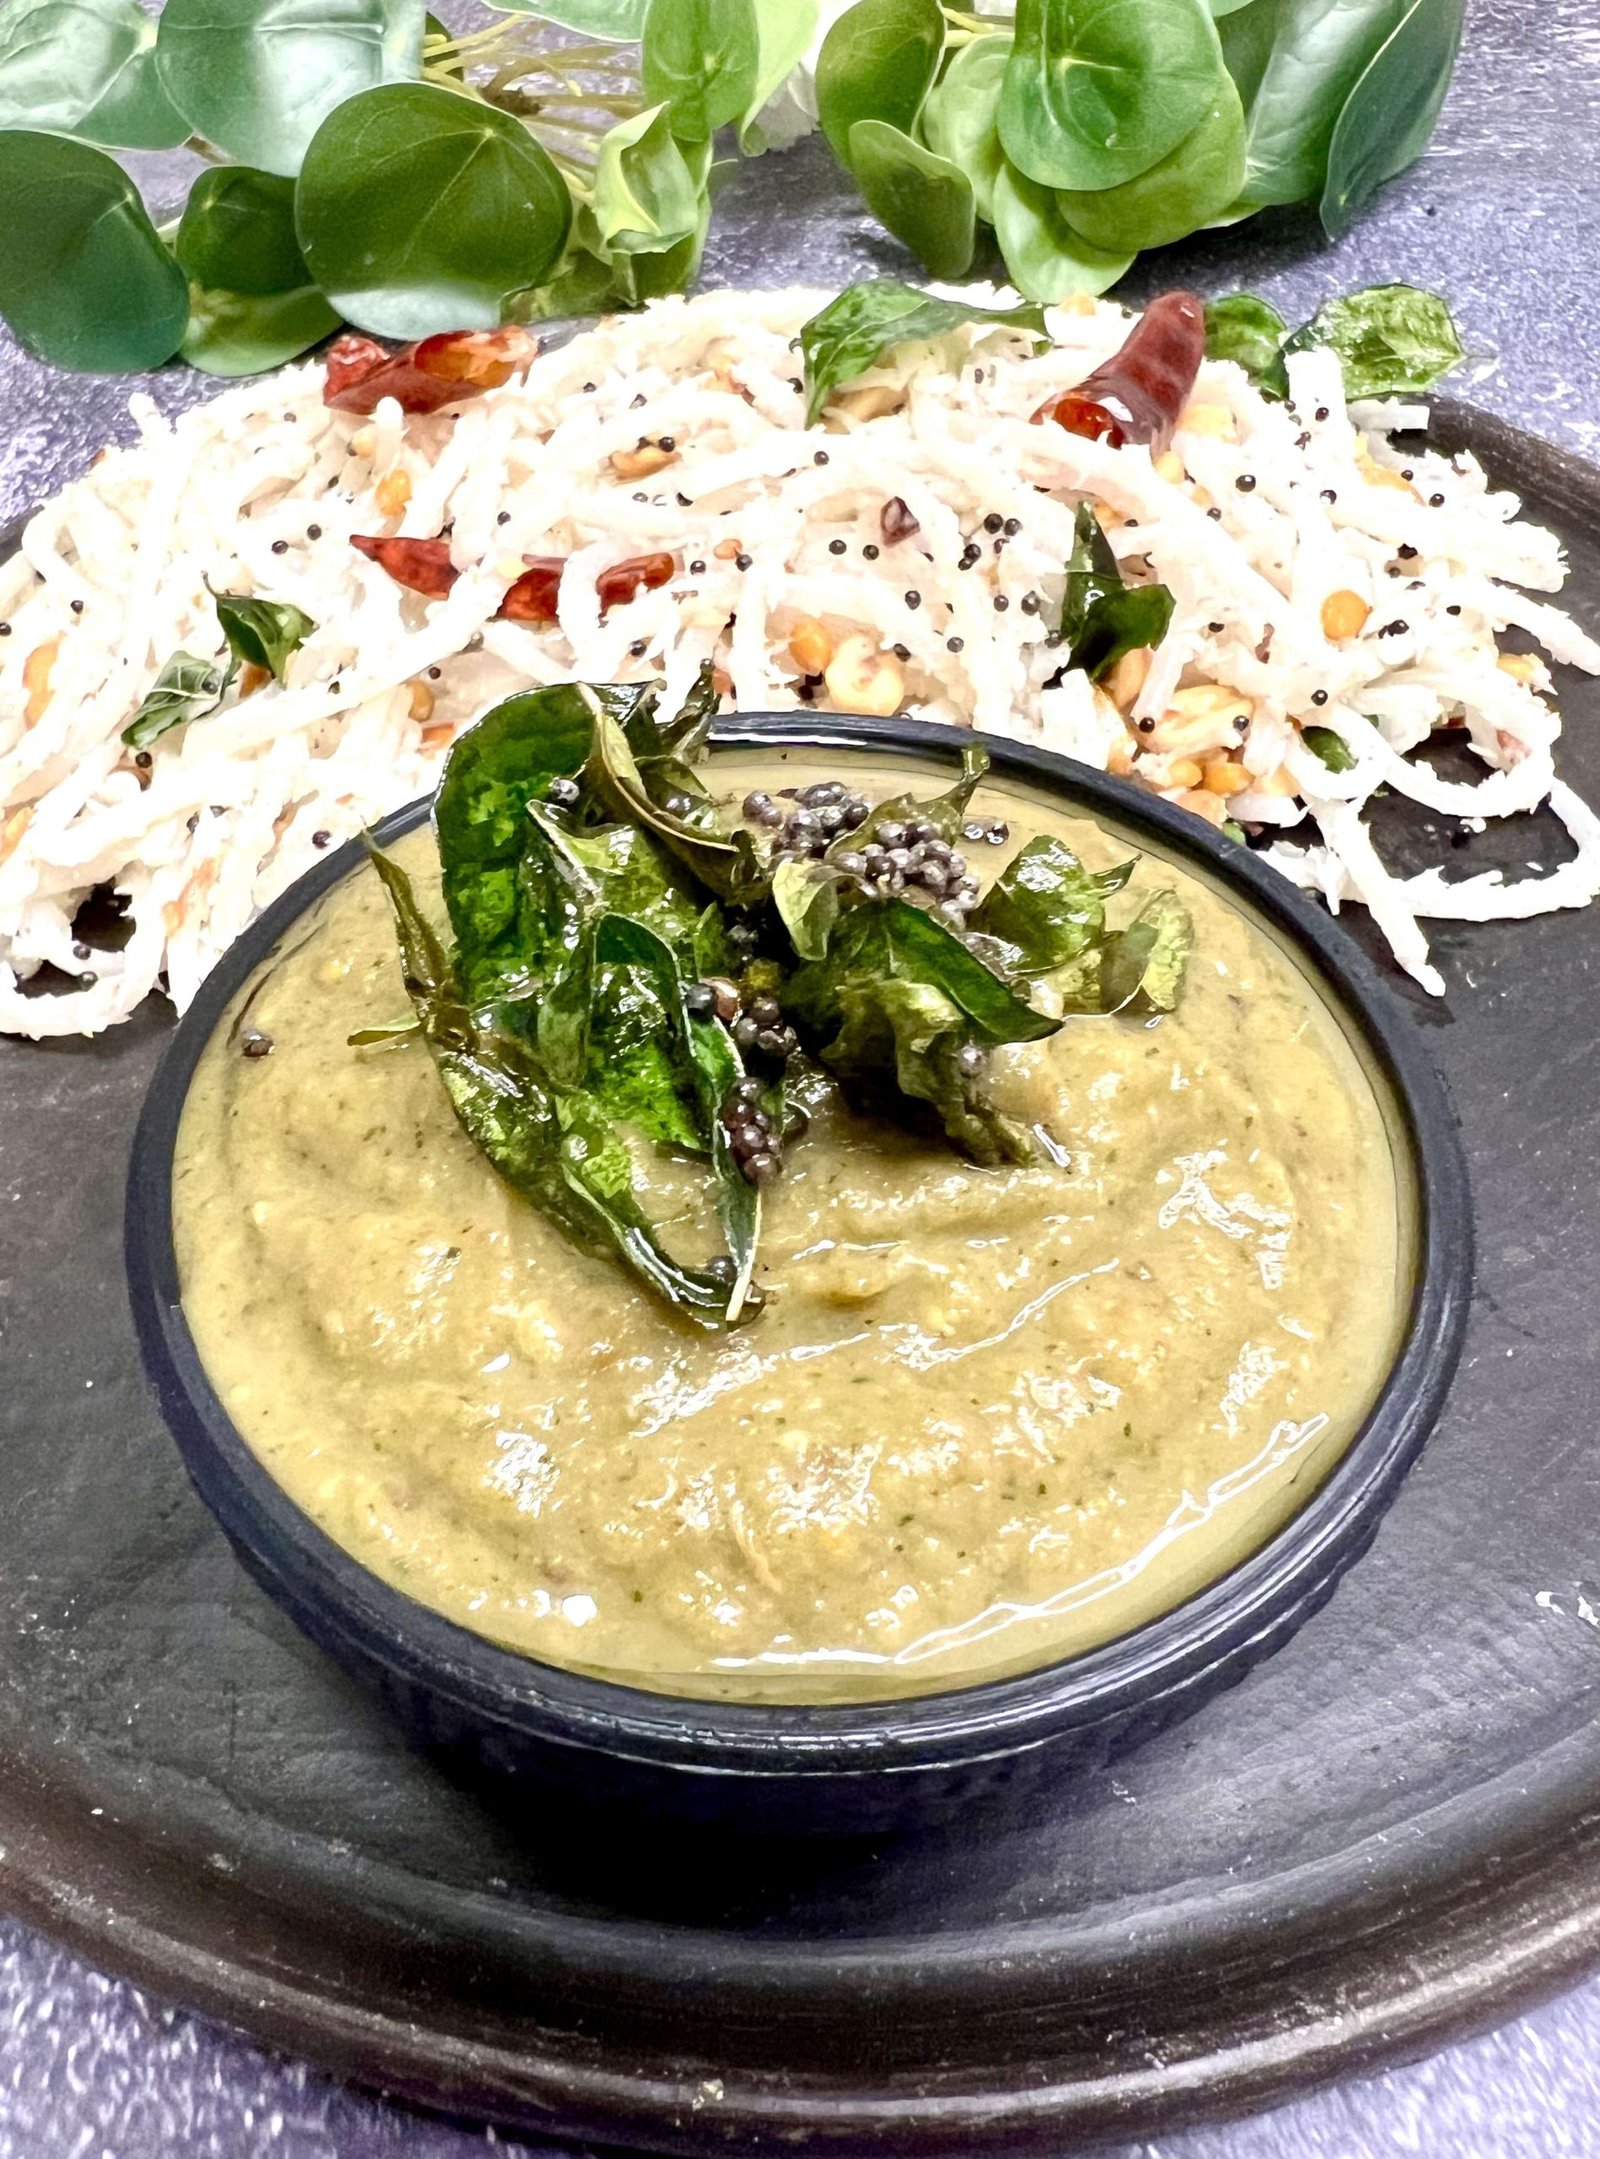
Healthy and fiber-rich brown rice idiyappam is the perfect breakfast you didn’t know you craved! It’s a delicious South-Indian rice noodle dish served with spicy curries, and I promise, you can’t stop at one.
Brown Rice Idiyappam has been my 3rd experiment with this elusive South-Indian noodle recipe. I’ve made a lot of dishes from scratch, but some are truly a labor of love. This idiyappam is one of them. While I’m all for quick and healthy recipes, especially on weekdays, I also love revisiting recipes that are deep-rooted in culture and tradition, even if they take me all day to make. This idiyappam is made with absolutely no shortcuts, and that’s the way I like it.
Without getting too caught up in the debate of brown rice vs white rice, let me just preface this by saying Brown Rice should be consumed just like you would any rice: in moderation, and without buying into the fad that brown rice is healthier than white. But, if you love brown rice, or you’re just looking to use up your brown rice, then this recipe is for you! It’s slightly nuttier than the regular idiyappam, but other than that, it is quite amazing.
Quick Note: You will need a manual Sev or Idiyappam maker for this recipe. You can also use a manual pasta press or a potato ricer: find one with the smallest holes possible!
What to serve the Brown Rice Idiyappam with?
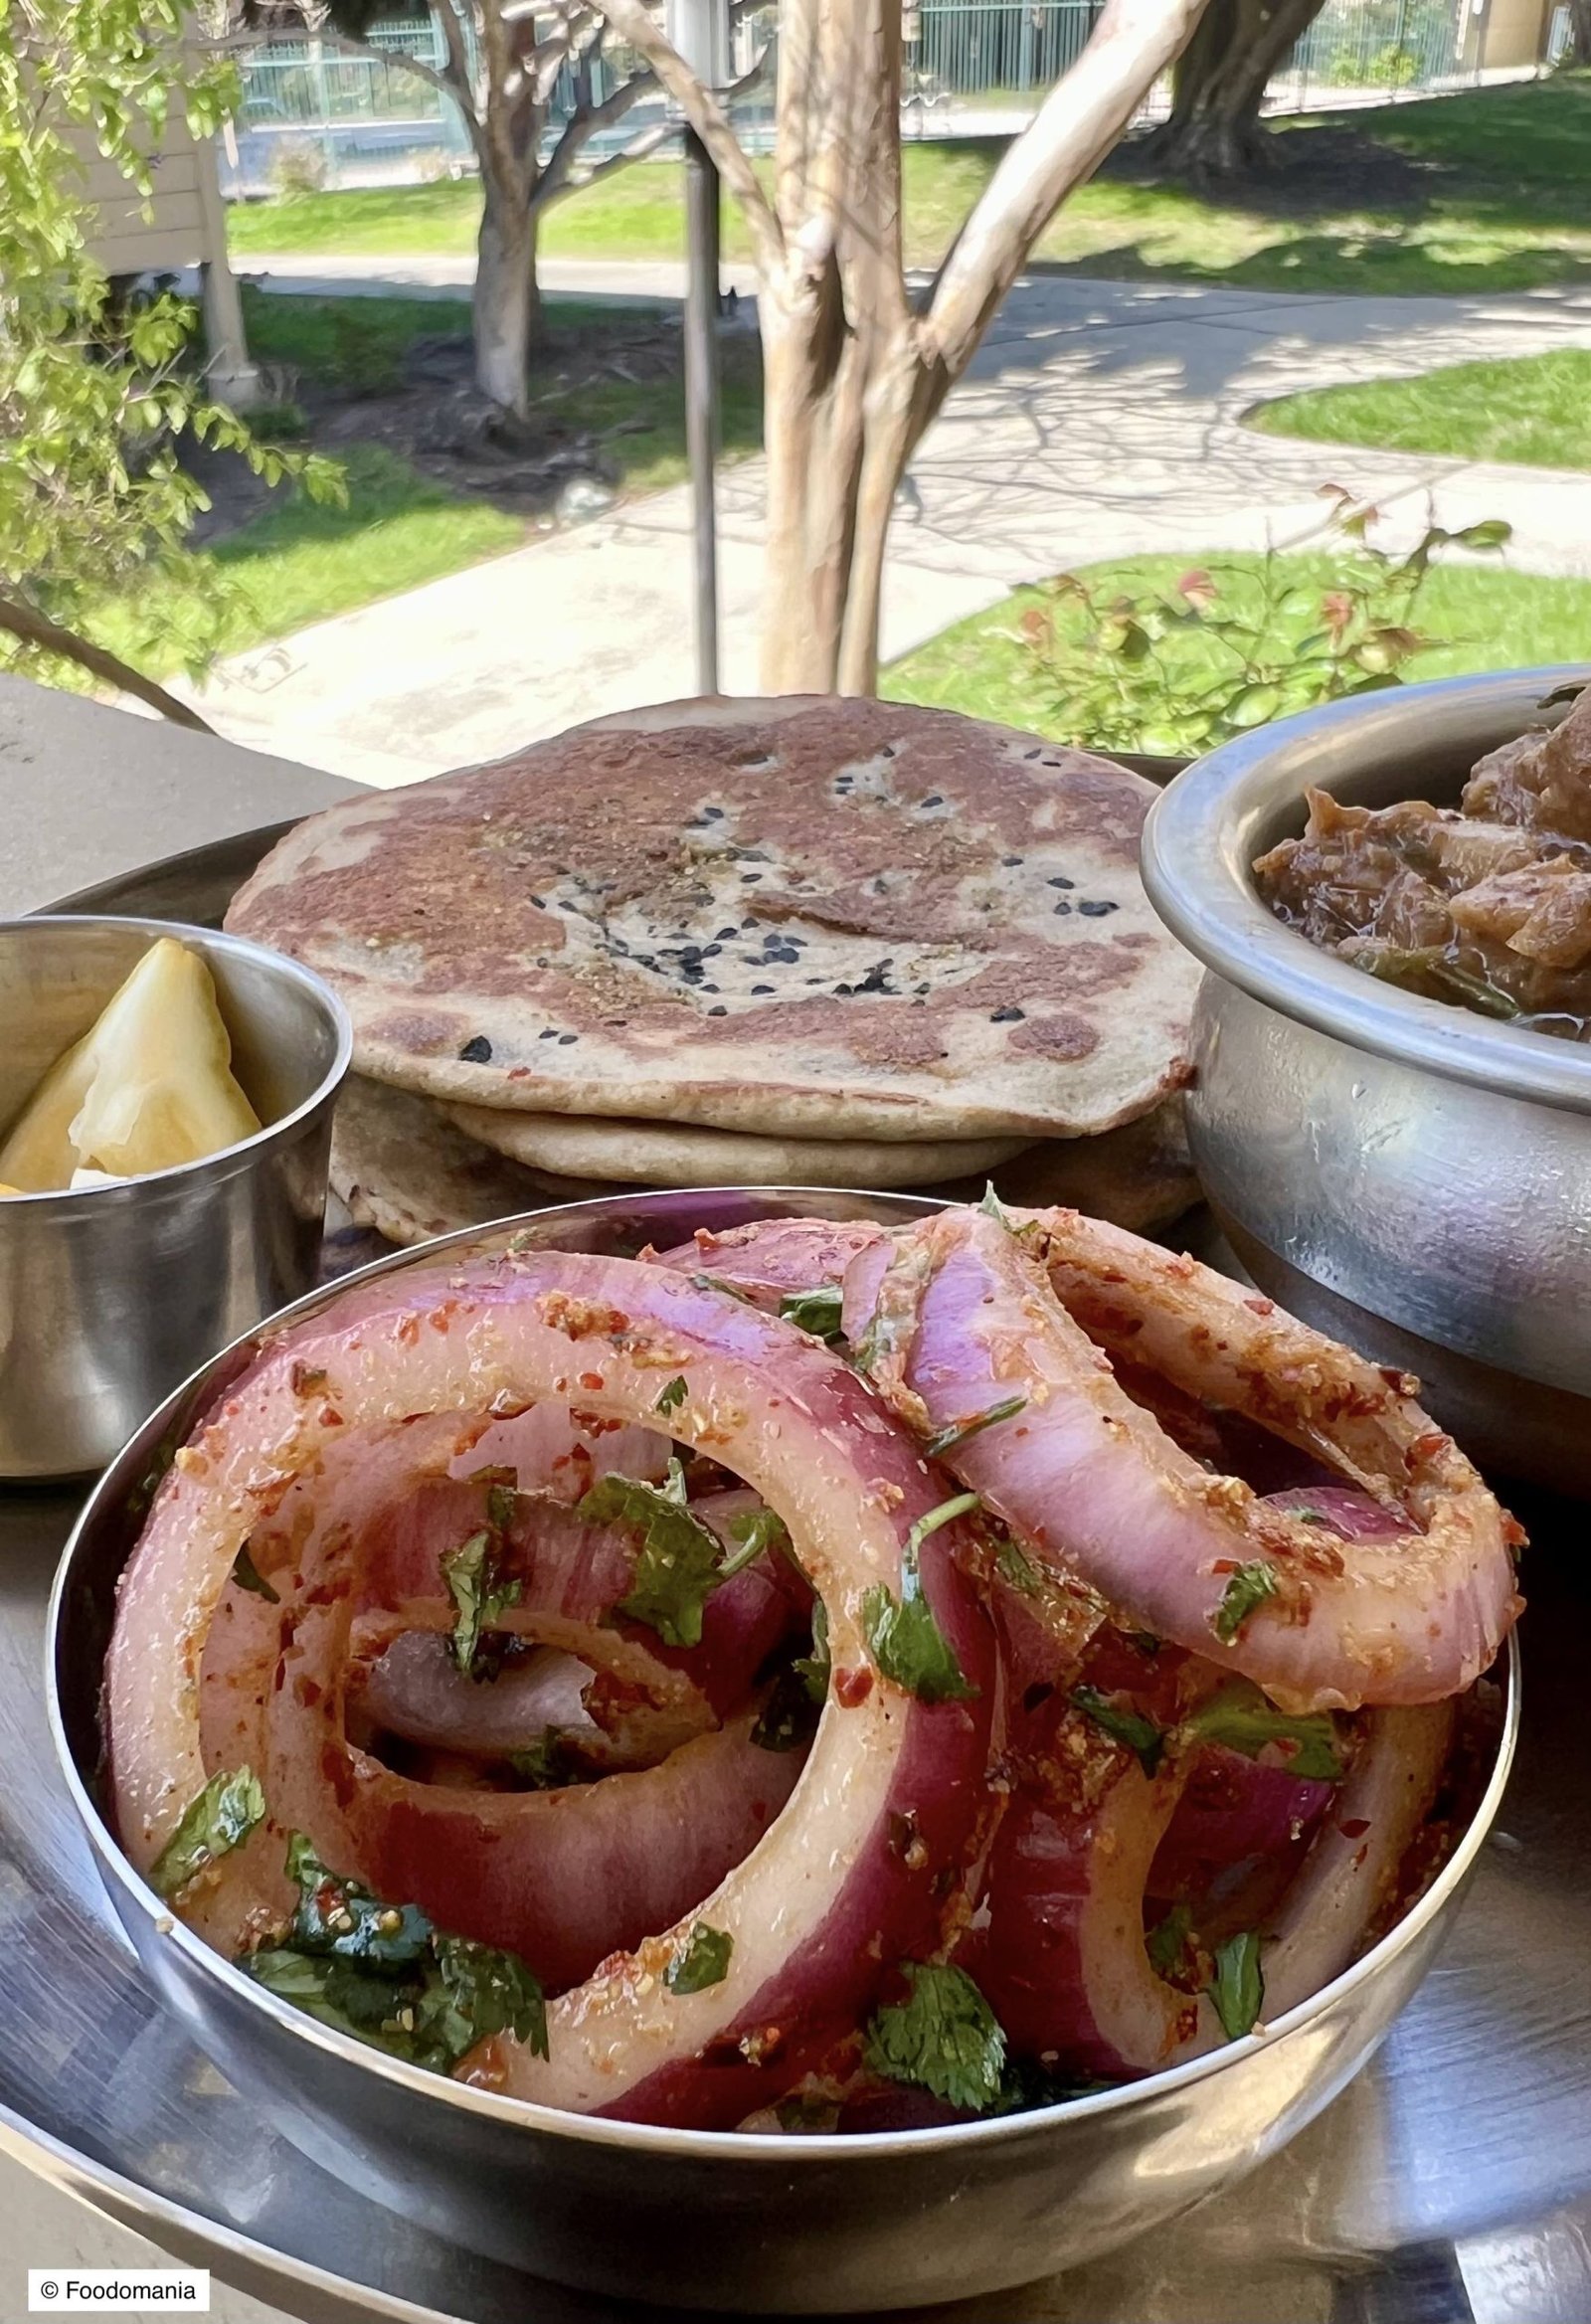
Much like any idiyappam, you can serve this one with a spicy side dish like kurma. Idiyappam and Kurma is a very popular combination in many South Indian restaurants. I also love this with a simple sambar and chutney, or any leftover sabji I have.
Another option is Idiyappam and Thengapal (Sweetened coconut milk). For those craving a slightly sweeter dish, you can simply take thinned coconut milk and sweeten it up with some jaggery and elaichi powder (cardamon) and serve it alongside the idiyappam.

Idiyappam originated in Kerala, and is usually made by steaming noodles made with rice flour. In Karnataka, this dish is called Shavige. In Tamil Nadu, Idiyappam is quite popular, and a similar rice noodles dish is the Sevai. It’s a much longer and elaborate process than making the idiyappam, which is why most people prefer the latter. I personally love the Sevai, as it takes me back to all the summers at my grandparents’ place, where a weekly ritual involved making umpteen kilos of these noodles!
Here’s a video recipe on how to make brown rice idiyappam –

Brown Rice Idiyappam
Ingredients
- 1 cup Brown Rice
- 1 tsp Salt adjust to taste
- 2 Tbsp Vegetable Oil + more for greasing the idiyappam press
- Water – for soaking grinding & cooking the batter
Brown Rice: I used brown basmati, but you can use any kind you prefer.
Equipment: You’ll also need a manual idiyappam press or a pasta press or a potato ricer with a thin noodle attachment.
Instructions
Soaking the Rice:
- Wash your brown rice well. Soak in enough cold tap water for 4-5 hours or overnight
Grinding the Rice:
- Add to a powerful blender along with 1 cup of water and salt. Grind to a smooth paste.
- Then add 1 more cup of water and grind to a smooth batter.
- Pour into a bowl. Add 1 more cup water, oil and mix well. The batter should be runnier than a dosa batter.
- Do not add too much water in the beginning, let the rice grind into a paste before adding more water.
Cooking the Batter: This batter doesn’t need to rest or ferment. You can go ahead and cook it immediately.
- In a large cooking pot, add the batter. Make sure you taste & adjust for salt at this stage.
- Turn on the stove to a medium heat and start cooking. Do not walk away, keep stirring continuously, to avoid forming lumps.
- Within 3-4 minutes you’ll start to notice the batter starts to thicken. Keep stirring until you have a thick mixture.
- Once its reached a thick consistency, cover with a lid & simmer and cook for 4-5 minutes.
- Then turn off and let the mixture cool down.
- Divide the mixture into 1-1.5 cup portions, and roll into smooth logs. Brush them with oil, and keep them covered until you’re ready to start making the idiyappam.
Making the Brown Rice Idiyappam:
- Fix your thin noodle hole attachment to your idiyappam press (you can also use a manual pasta press or potato ricer, but it’ll make slightly thicker noodles)
- Brush the inside really well with vegetable oil to prevent the rice from sticking too much.
- Add the formed rice logs into the idiyappam maker and close with a lid.
- You can squeeze the noodles onto a greased steamer plate, idli plate, banana leaves (placed on a plate) or any edible leaves. Start squeezing out the noodles in circular motion onto your plate / leaf, and stop at the center once you have a decent sized idiyappam.
- Place the plate in a steamer or the cooker or pot, steam for 4-5 minutes. If your noodles appear undercooked, steam for a few minutes longer.
- Let it cool in the steamer plate for a few minutes. If you de-mold it while hot, the noodles may break apart. Once cool to touch, gently remove with a spoon onto a casserole dish or container.
Serving the idiyappam:
- Serve the idiyappam hot with vegetable kurma, thengapal (sweetened coconut milk), chutney, sambar or any side dish you prefer!
Storing:
- In case you have leftover, just store in an air-tight dish in the refrigerator for upto 7 days or in the freezer for a month. Just steam or microwave with a drop of water to soften them again, right before serving
Video
Notes
When to steam the idiyappam?
- Since we cook the batter ahead of time into a thick mixture, and continue to steam until it is fully cooked through, you can directly squeeze into noodles & consume, in some cases. But this is only if the batter is fully cooked through.
- However, the batter gets a bit difficult to continue stirring and cooking all the way through, if you don’t apply furious strength to the process. Once you squeeze your noodles out, it looks like they’re too soft/disintegrating and seem undercooked, then just steam them on an idli or steamer plate for 4-5 minutes.
- However, please note that when it’s super hot, it will seem soft & undercooked. Let the idiyappam come to room temperature, taste & then decide if it needs additional cooking time or not!


")